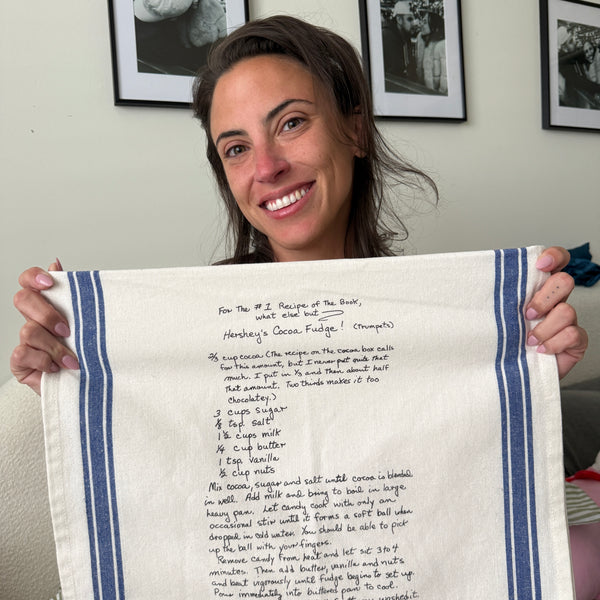
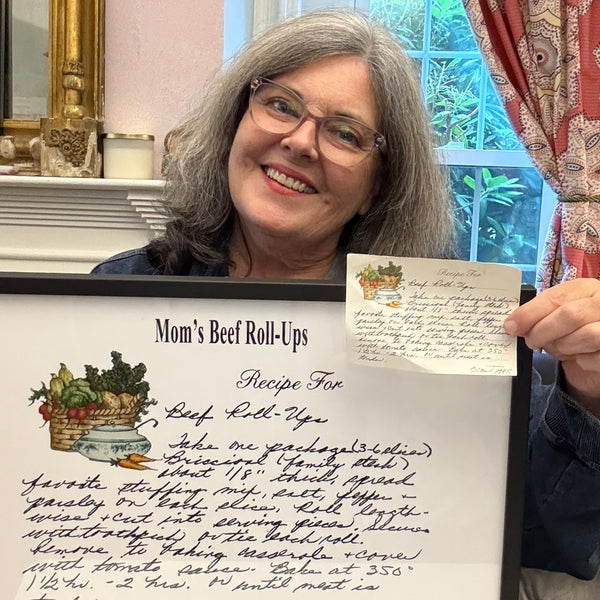
By: Gracie Gibbs
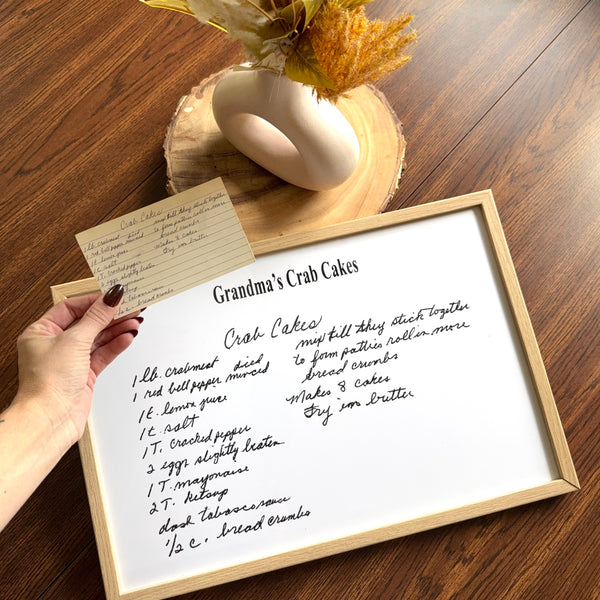
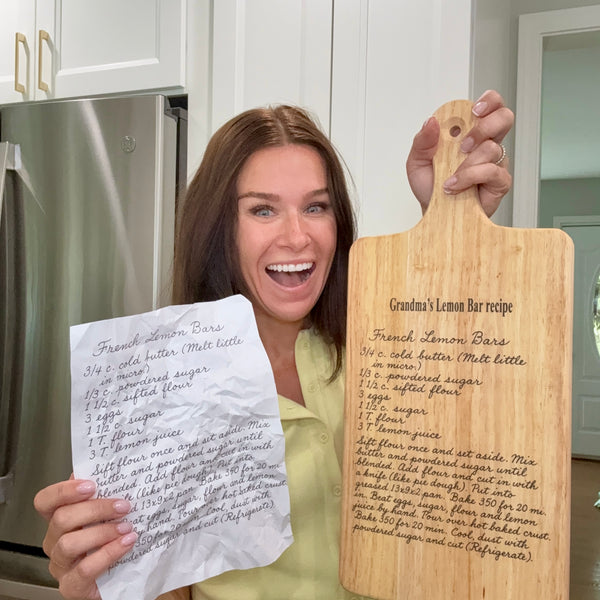
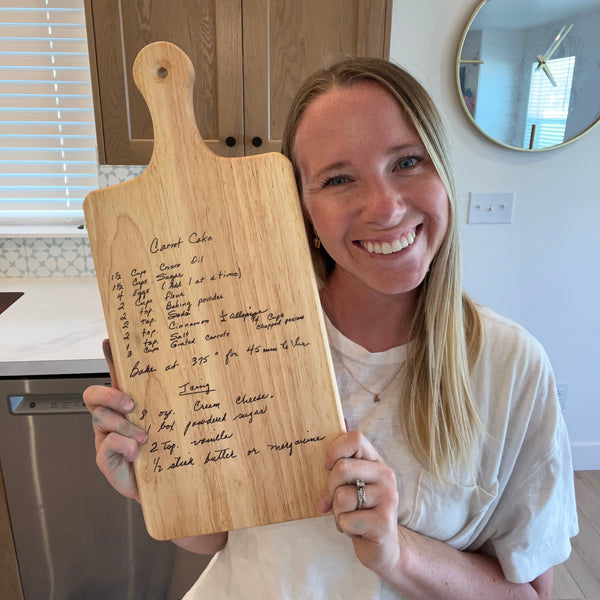
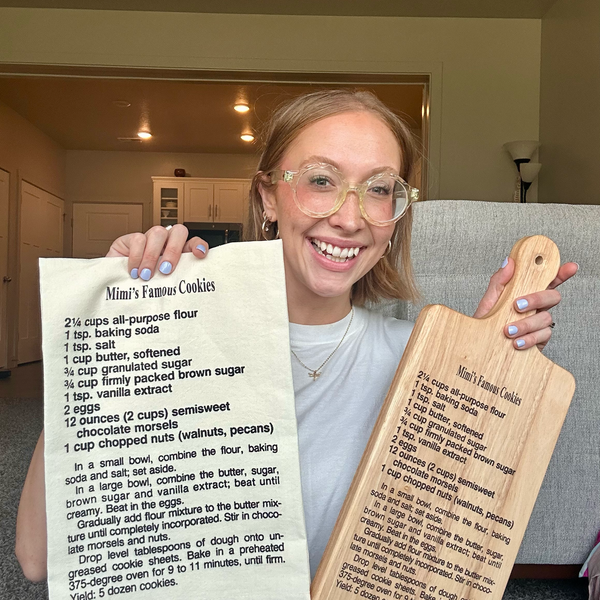
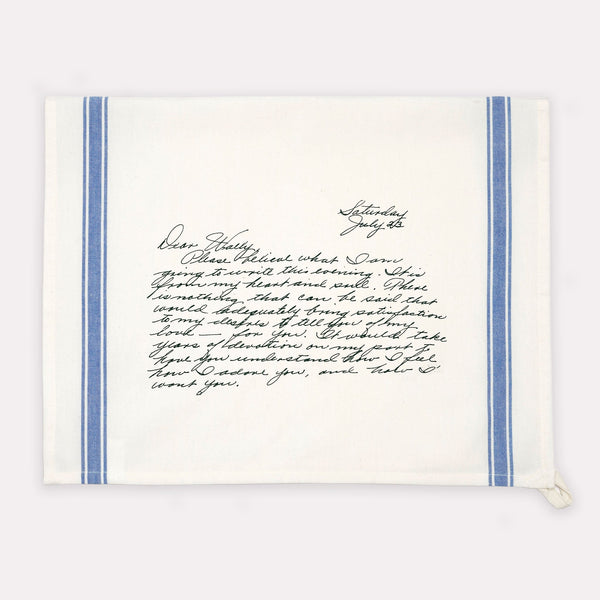
Handwritten recipes are special, but not always pretty. When it’s well-loved there might be stains or tears in the original paper. Thus, making it harder to photograph. Some of the top mistakes we have seen when uploading photographs are bad lighting, awkward angles, and blurry photos. Here are a few tips and tricks to making sure you receive your recipe towel in it’s best form.
First, you want to make sure your recipe is flat. Place it inside a book or heavy object overnight to make sure all of the creases are smoothed out.

Next, find a flat surface to take the picture. You’d be surprised at the amount of photos we receive that are not flat! This is one of the easiest ways to make sure that your photo will be ready for our graphic designers to touch up.

Making sure that the recipe is well lit. Oftentimes when you submit a blurry photo, it also equates to the room not having proper lighting. If you are inside, find a window or turn on the lights. Try to be as close to the light source as possible to avoid shadows. Make sure that there are no obstructions in the way, then snap away!

Hold the phone parallel to the recipe. When taking a photo, make sure that you are not at an angle and as still as possible. By holding the phone over top of the recipe it will ensure that we are able to see everything important on your family keepsake.

Keep it simple! If you follow the steps above by having good lighting, a flat surface, and being parallel then it will create a crisp image and create the best results!

Check out our Instagram for more tips and tricks!
For a how-to video, watch our Instagram Reel.